The DRS System consists of three parts, when assembled form the Root Irrigation Device (DRS).
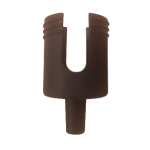
DRS Cup
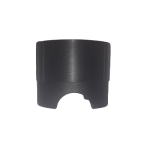
Compressor ring
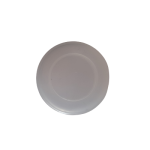
Lid
When assembled, as described below in steps/images, the DRS encapsulates the dripper, bringing water and fertilizers directly to the roots, while remaining attached to the irrigation system tubing
installation
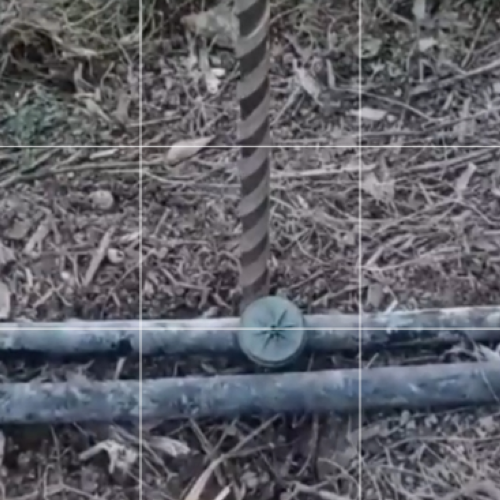
Step 1
Make the irrigation hole, a hole diameter of 18-20 mm is recommended, since the DRS drainage spout is for 16 mm pipe.
Depending on the type of terrain, the irrigation hole is of different depth, it is recommended.
Good drainage: 40-50 cm.
Normal drainage: 50-60 cm.
Poor drainage: 60-80 cm.
installation
Step 2
For the drainage tube (diameter 16 mm), we recommend a length between 15-20 cm.
Once the tube is placed in the DRS cup, the tube is inserted into the hole made in the ground.
The drainage tube has the function of taking the water from the dripper directly to the depth of the roots and maintaining humidity in the subsoil.
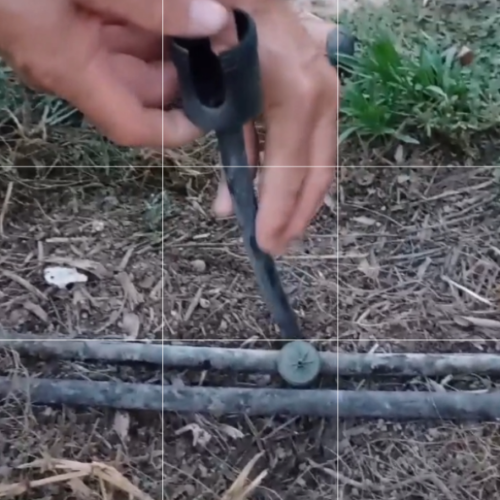
installation
Step 3
Place the pipe with the dripper, inside the DRS cup.
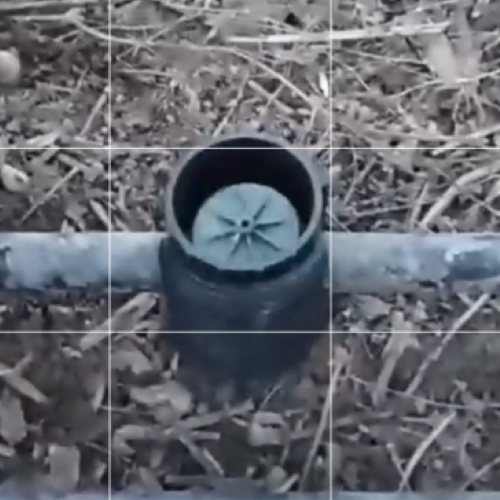
installation
Step 4
Place the compressor ring so that the openings coincide with the pipe and that the dripper remains inside.
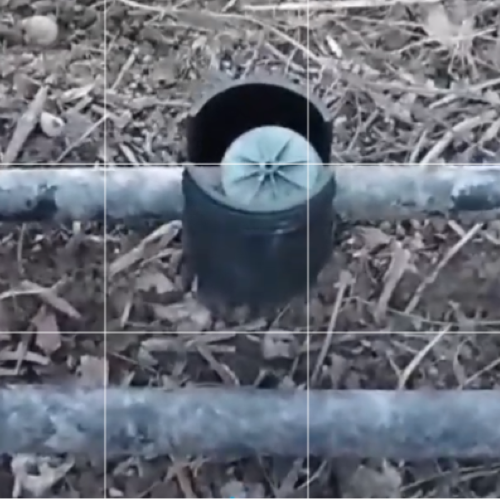
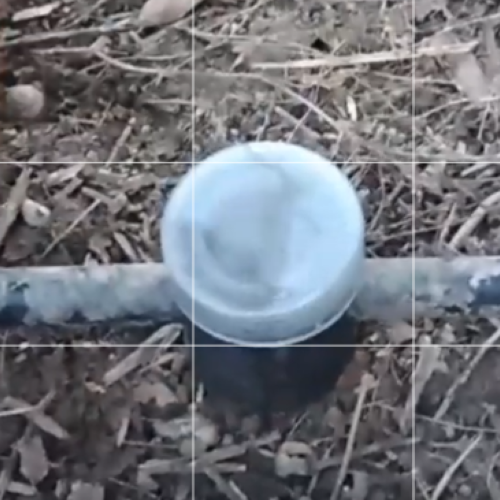
installation
Step 5
Screw the transparent lid onto the DRS cup so that it stays in place. When screwing on the lid, it puts pressure on the compressor ring so that the pipe is attached to the DRS.